Installation steps
- Create an account on
 Cloud Monitoring as a Service | Datadog
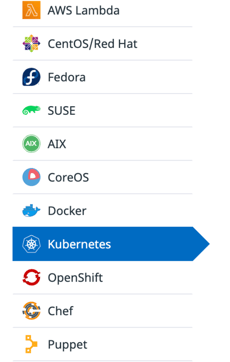
 - In the third step of creating the account, you will be asked to select an agent. For example, select Kubernetes.
 .
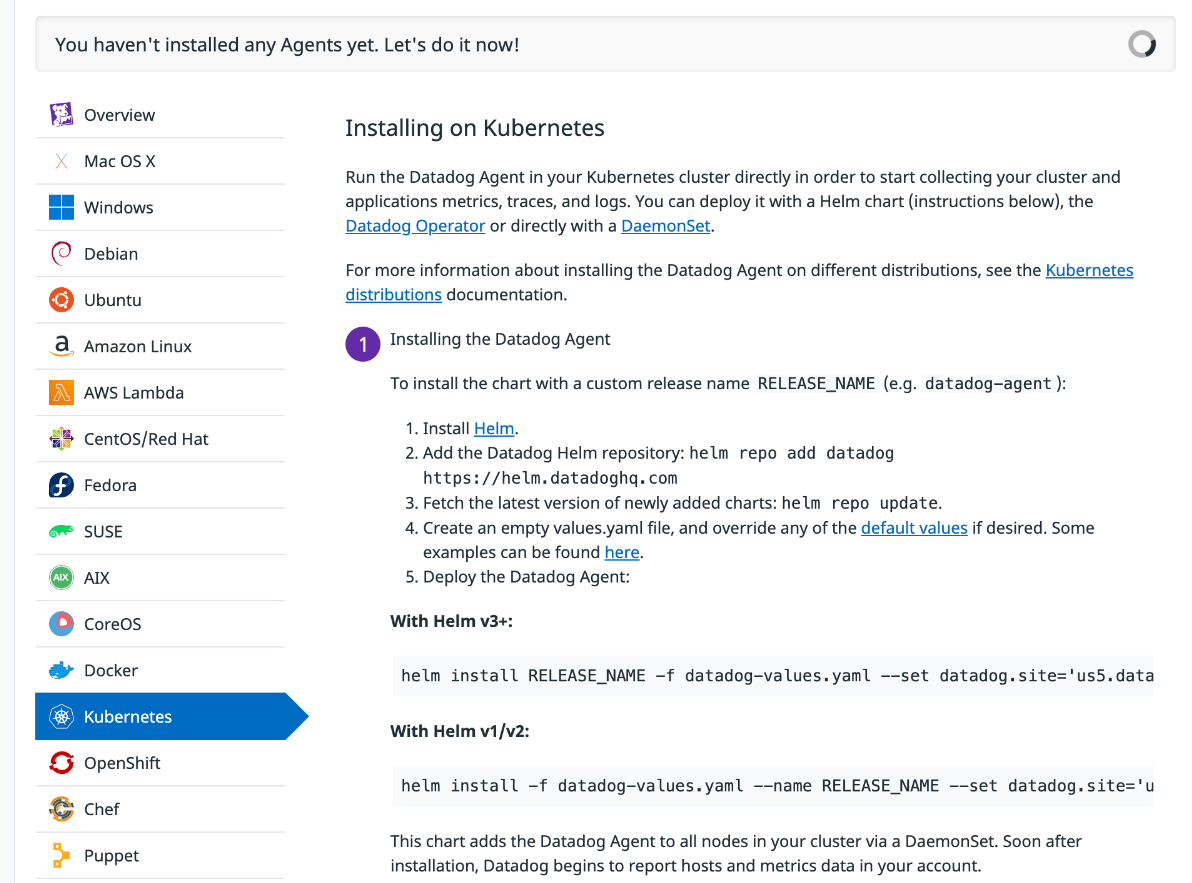
. - Install Helm and deploy the Datadog agent on your VM (which has Kubernetes configs), as mentioned in installation step 1 on the Datadog URL. Mention the RELEASE_NAME for your Datadog Agent. For example, choose ‘datadog’.
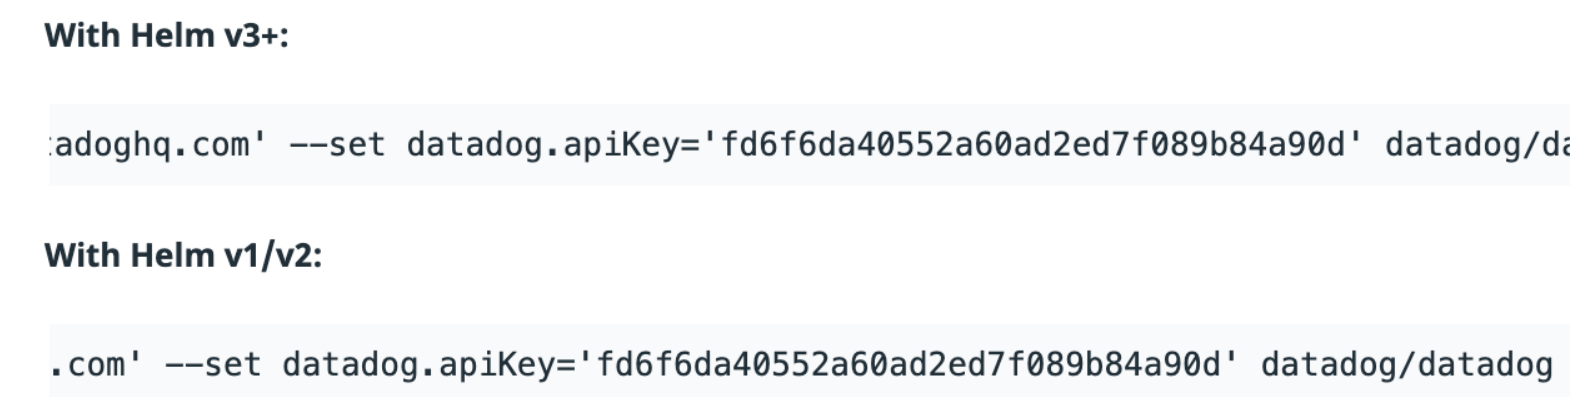
Integrating Zetaris with Datadog Kubernetes Agent - Create a file named datadog-values.yaml in the VM, and add the sample code mentioned below. The API Key needs to be mentioned in the below code, which you can retrieve from the Helm install command mentioned on the Datadog URL. See Datadog API Key below:
touch datadog-values.yaml
chmod 775 datadog-values.yaml
Copy the below code in the datadog-values.yaml file.
datadog:
  apm:
    portEnabled: true
  logs:
    enabled: true
    containerCollectAll: true
  apiKey: "<YOUR-API-KEY>"
    # (...)
  processAgent:
    enabled: true
    processCollection: true
  agents:
    containers:
      processAgent:
        env:
        - name: DD_SCRUB_ARGS
          value: "true"
        - name: DD_CUSTOM_SENSITIVE_WORDS
          value: "personal_key,*token,*token,sql*,*pass*d*"
  networkMonitoring:
    enabled: true
targetSystem: "linux" -
Upgrade the Helm chart, by running the command mentioned below.
helm upgrade -f datadog-values.yaml RELEASE_NAME datadog/datadog
- Once installed, the datadog UI will be up and running. Login using the same credentials you mentioned when creating the account.
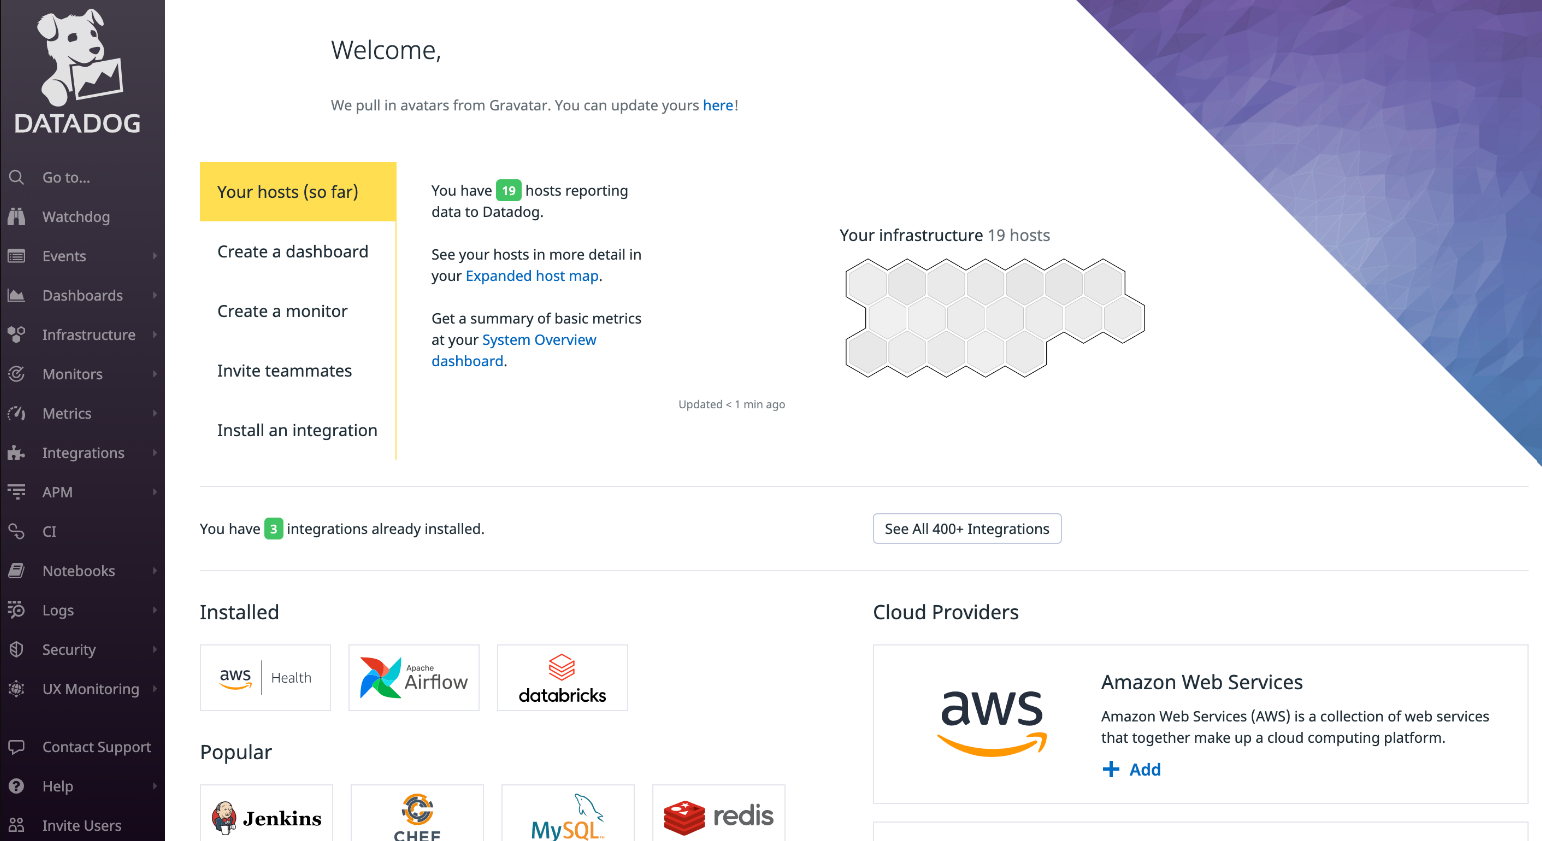
Datadog UI Home Screen
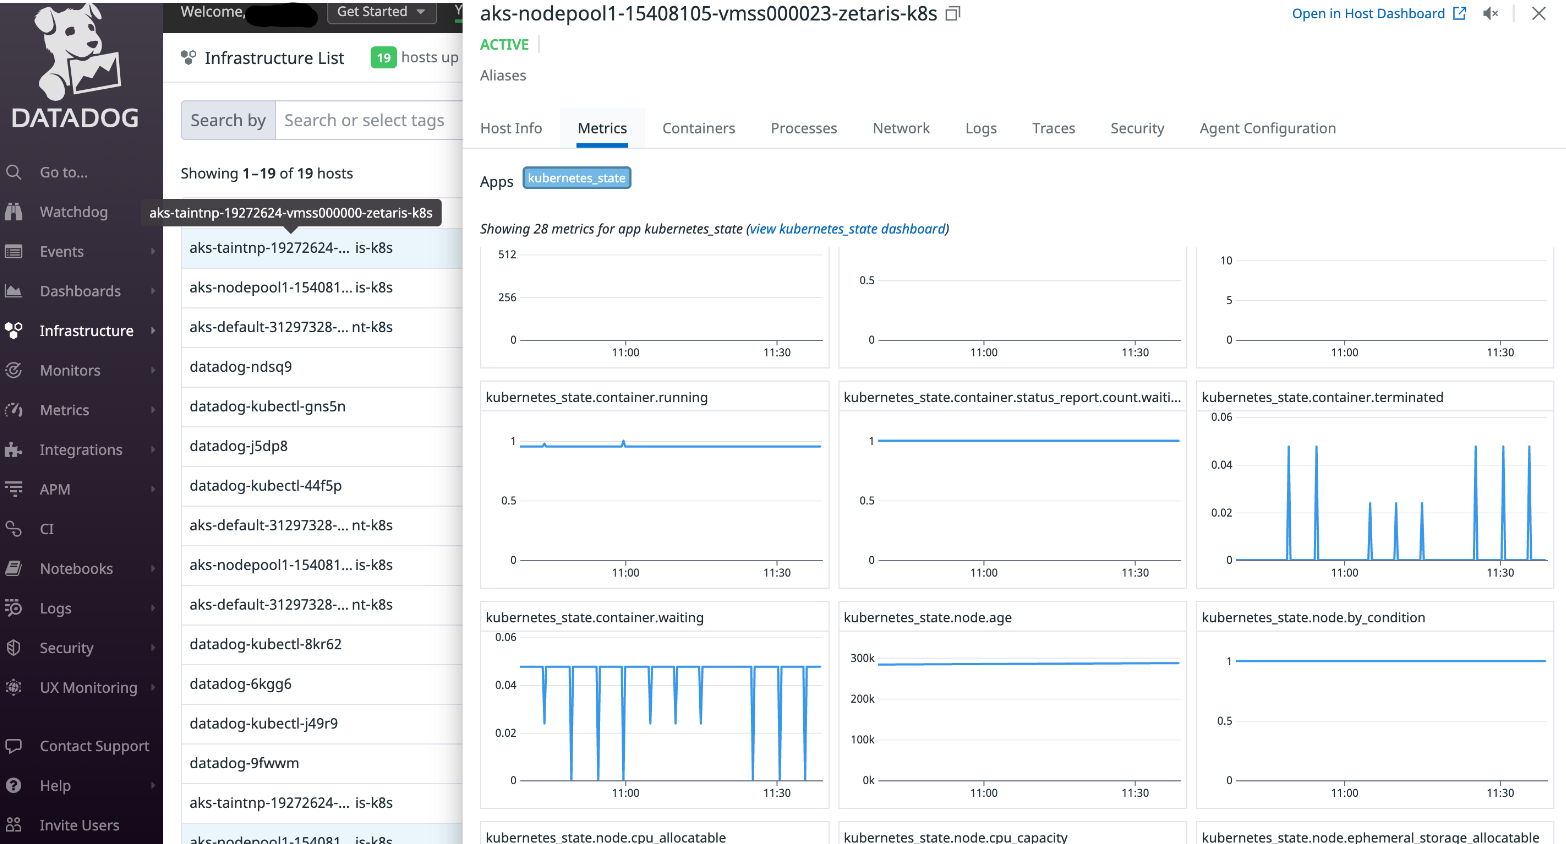
Example of Kubernetes Metrics
Installing Datadog in an integration model with Zetaris will help with observability of the platform and will enable the customer to create alerts for self-service of platform related issues.