Configuring Zetaris
-
Log into your Zetaris instance
-
In Schema Store Tab, Run the following command within the SQL Editor, replacing <your UID> with your organisation i.e: Zetaris
UPDATE SSO WITH (
uid "<your UID>",
type_selected "SAML2"
)
Configuring Okta
-
Sign into OKTA

-
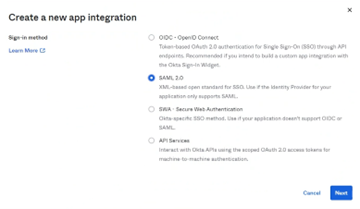
Go to Admin>Applications>Create App Integration
-
Select SAML2.0 then select next
-
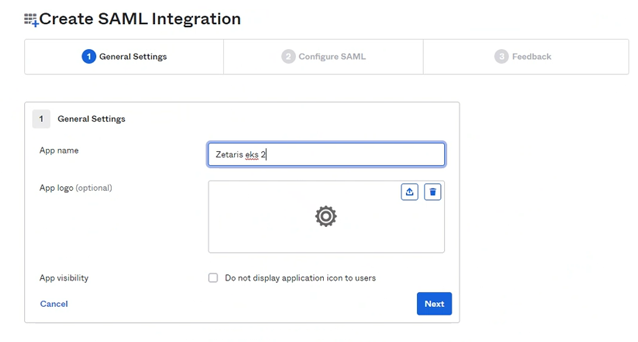
Create an application name
-
Click Next.
-
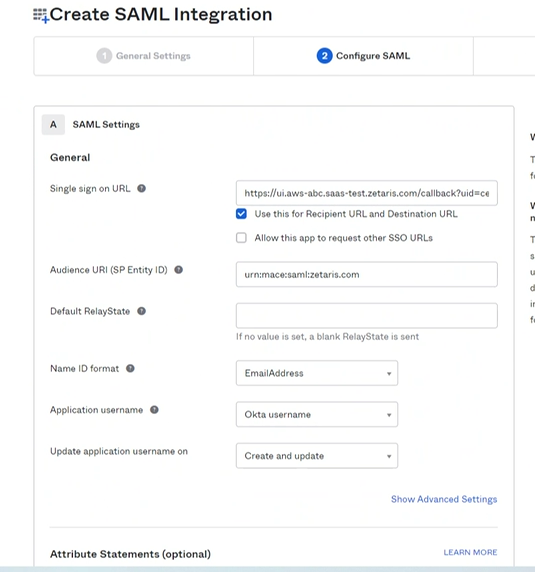
Provide the following inputs:
-
Single Sign on URL: eg. https://ui.test.zetaris.com/lightning-gui/?uid=zetaris
-
Ensure the following checkbox is checked
-
Use this for Recipient URL and Destination URL
-
-
-
Audience URI (SP Entity ID): urn:mace:saml:zetaris.com
-
Name ID Format: Email address
-
Application Username: Okta username
-
Update application username on: Create and update
-
-
Click Next.
-
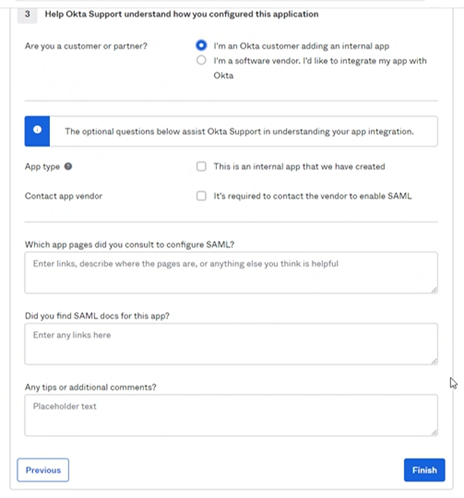
Select option: I’m an Okta customer adding an internal app.
-
The questions provided are optional

-
-
Click Finish
-
Once created, you will see the following newly created application within the applications list

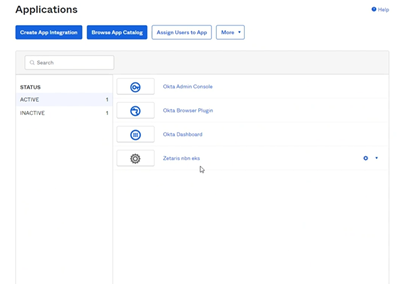
-
Select the newly created application then select Sign On tab
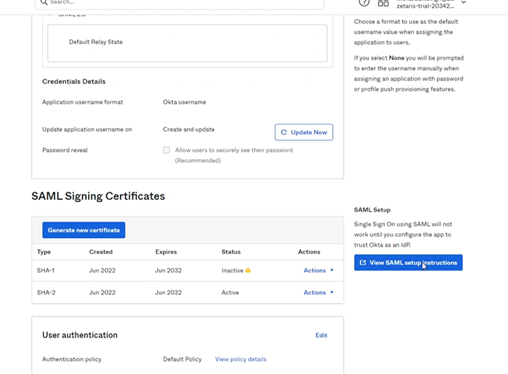
-
Scroll down to the SAML Signing Certificates section
-
Click View SAML setup instructions

-
Scroll down to the bottom of the screen and copy the IDP Metadata

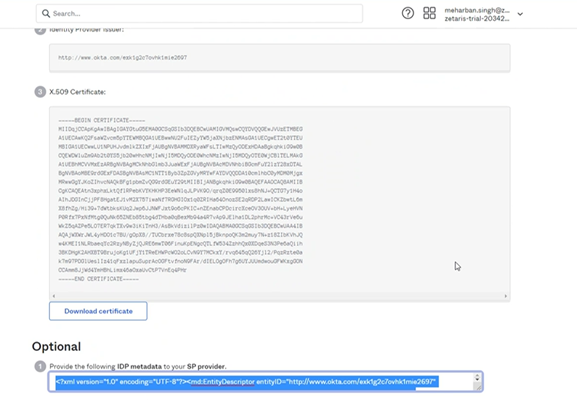
-
Log into your Zetaris instance (without uid) e.g. ui.trial.zetaris.com
-
Run the following command replacing the placeholder with the copied IDP Metadata from step 14
UPDATE SAML2 WITH (
  idp '<IDP>'
);
Example:


-
Use the URL you decided in step 6.a to login via OKTA
example: https://ui.zetaris.com/?uid=zetaris