Setup
- Login to your Zetaris Environment
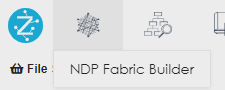
- Click on NDP Fabric Builder
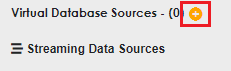
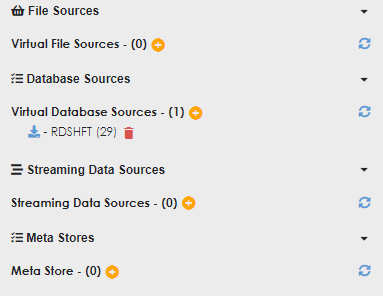
- Click on the yellow create button next to Virtual Database Sources as shown below
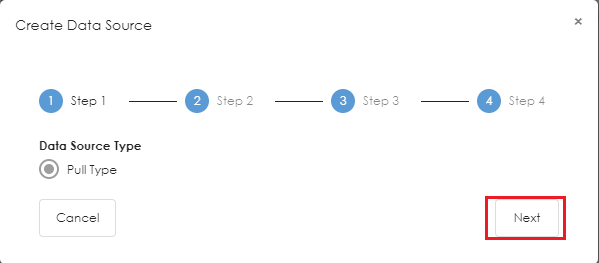
- A Popup window will appear. Click 'Next'
- Specify the following values and click Next
Datasource Redshift Data Source Name Name your Data Source Description (Optional) Input a description for your data source JDBC Driver Class
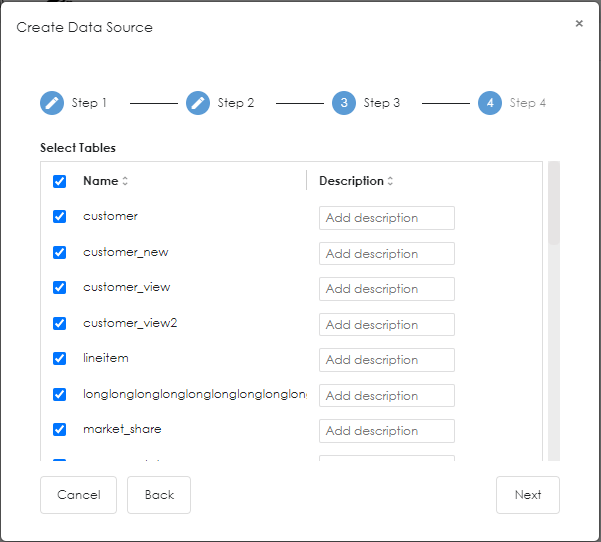
Leave the default JDBC URL Input your JDBC URL for the data source Username Your Redshift Username Password Your Redshift Password - Select the Tables you want to add to Zetaris. and then Click Next
- Review your Inputs and then Click on 'Register'
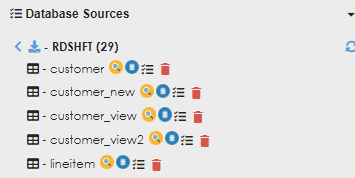
- You will see your newly created Redshift data source now.
- To view the contents of your table click on the preview button