Step 1. Login into our support ticket system https://kbase.zetaris.com/tickets-view
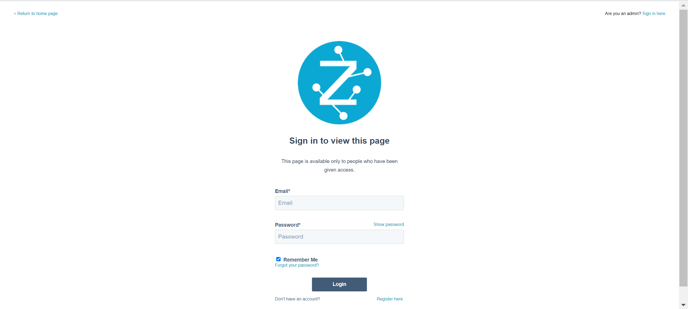
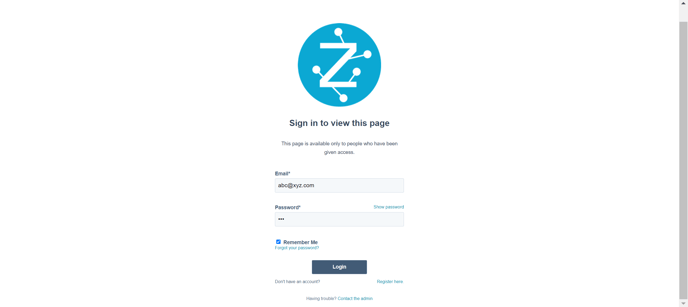
A new page will open as shown below.
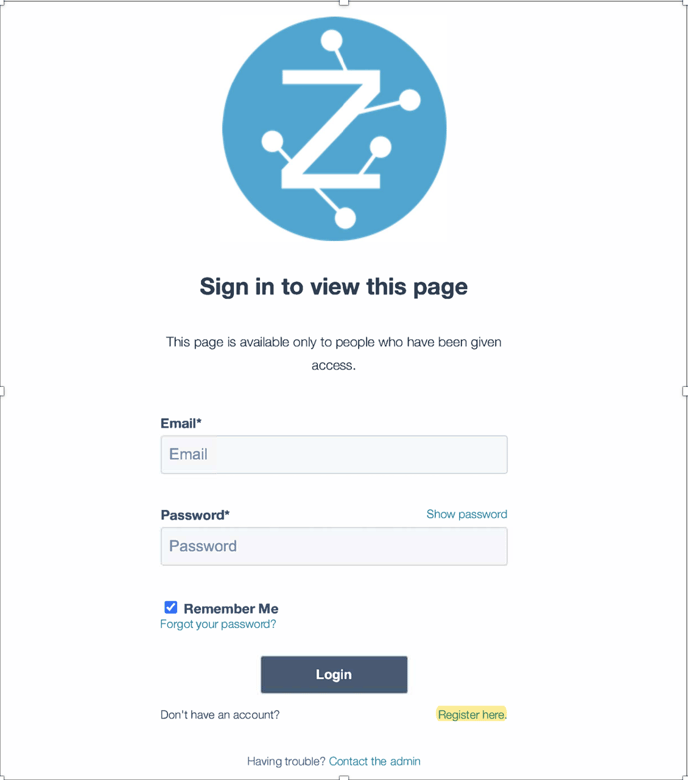
Step 2. If you are a new customer, please click the “Register here” link and follow the instructions shown.
If you are not a new customer, please go to Step 3.
Step 2a. After clicking on the “Register here” link, a new page opens up as shown below.
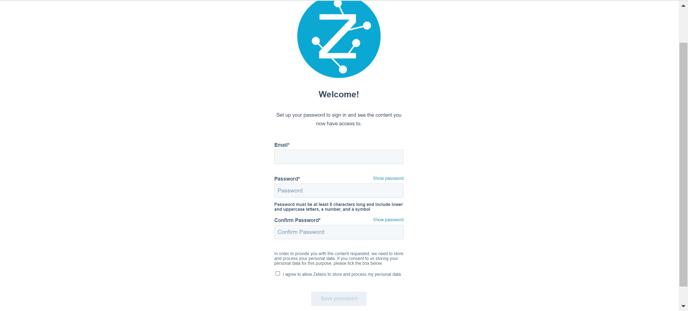
Step 2b. Please fill in the “Email”, “Password”, “Confirm Password” fields and tick the "agree" checkbox. Once this is completed, the “Save Password” button will activate, click this button to save your details and start the registration process.
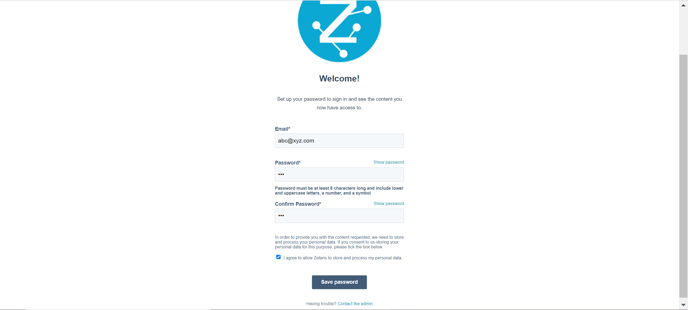
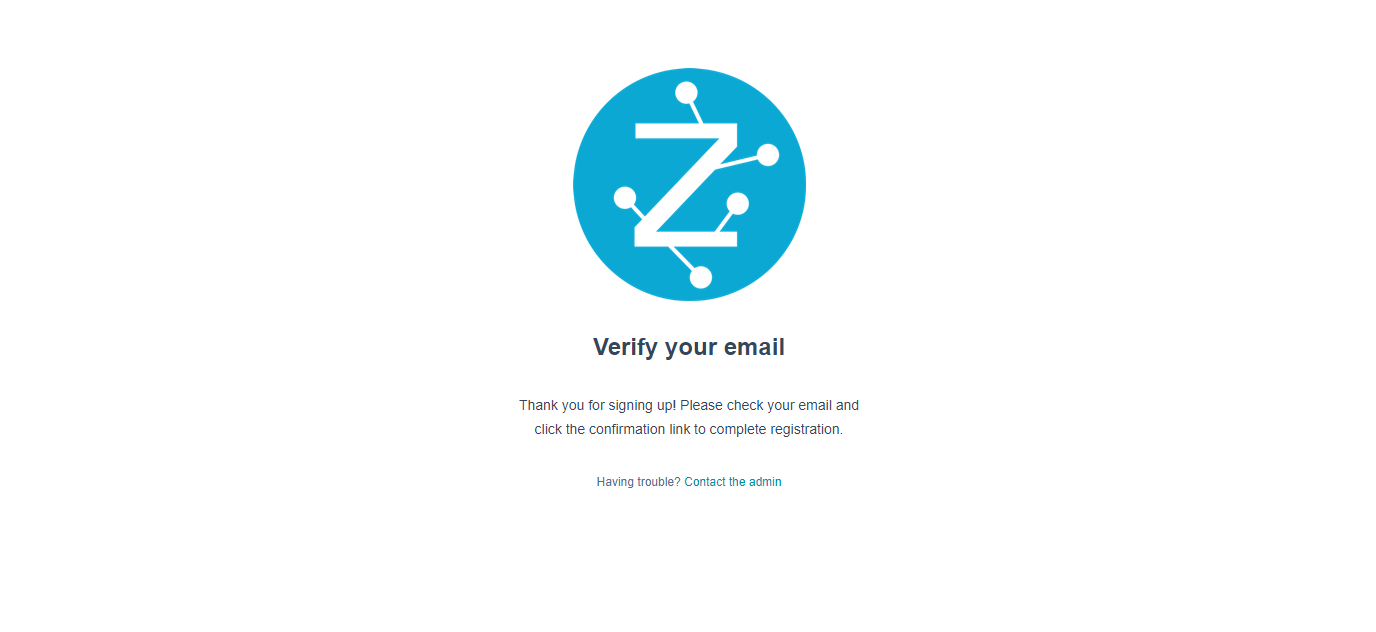
Once the details are saved, a verification message will appear. Please check your email for the verification message and click the "Verify" button.
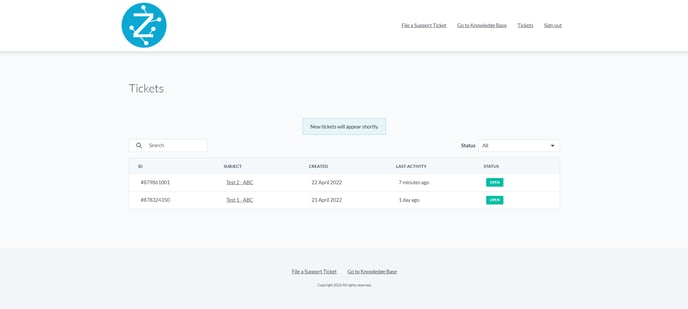
Step 4. Once logged in, your personal home page will be displayed as shown below.

Initially the above page will be empty. (Note: "Test 1 - ABC" is a sample ticket.)
Step 5. Click the “File a Support Ticket” link at the top of the page to log your first support request. The support ticket input form will be displayed as shown below. 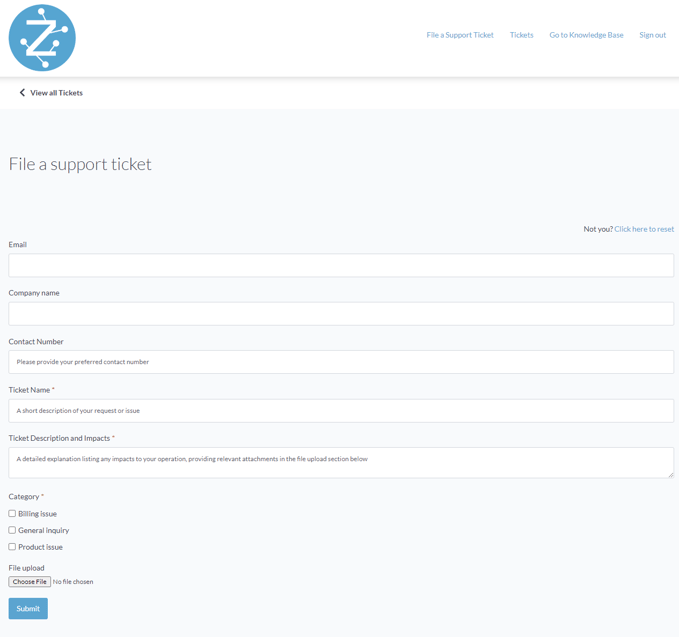
The first time you log a support ticket you will need to provide your email address and company name which are stored as a cookie in your browser. (Note: Subsequent tickets will not ask for this information again unless you login from a different browser.)
Complete all the required fields shown below and click the “Submit” button to log your support request.
- Enter an Australian Phone number in the format “0400000000”
- Enter a name for the ticket which include the problem name and company name for faster tracking purpose.
- Enter a brief description of the problem along with its impacts which is being faced so as to get a clarity of the problem.
- Click on the respective category of the issue (denoted as list options- “Billing issue, General inquiry, Product issue”) based on the problem.
- Optionally, upload any screenshots/images/documents/files which can assist in informing more about the issue.
Step 6: Once the request is submitted, a confirmation page appears as shown below.
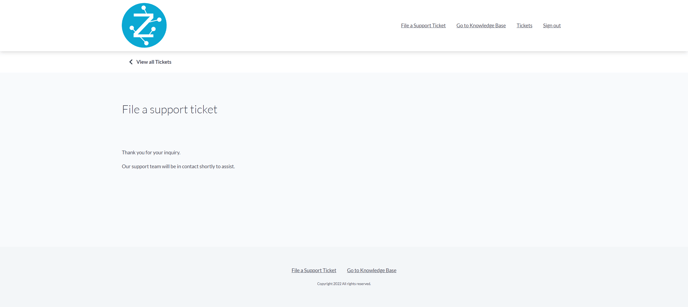
Click on “Tickets” link at the top of this page to return to the home page where your ticket will appear, as shown below.
Click on the required option from the “Subject” column to view more information regarding your ticket.