
Choose your uid (your own unique ID) in lowercase and replace <uid>, e.g. zetaris. Use the same uid in every step below.
Run the following query in SQL Workspace:
- Replace <uid> with your own unique ID
UPDATE SSO WITH (uid "<uid>", type_selected "oidc");
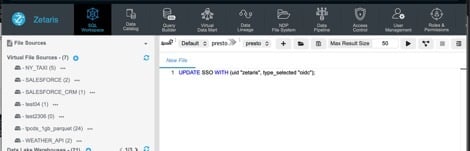
Confirm the SSO config
Run the following query in SQL Workspace:
SHOW SSO BY UID "<uid>";
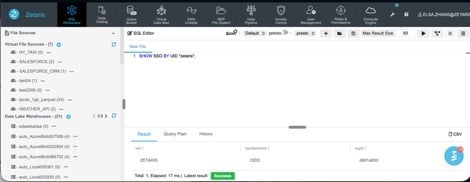
Update the OIDC with required parameters
--UPDATE THE OIDC WITH THE REQUIRED PARAMETERS
--clientId is the service principal
--clientSecret is the secret key for the service prinicipal
--tenantId is your tenantId
--They can be found in app registration
UPDATE OIDC
WITH (
uid "zetaris",
clientId "c087XXXX",
clientSecret "Bja8XXXXXXXXXX",
tenantId "0d94XXXXXX",
DISCOVERYURI "https://login.microsoftonline.com/<tenant_id>/v2.0/.well-known/openid-configuration"
);Confirm the OIDC has been configured
SHOW OIDC CONFIG BY UID "<uid>";
Refer to the following table to change values
The URL to be provided for authenticating users to login via SSO i.e. http://ui.enterprise.zetaris.com/?uid=zetaris
|
parameter name |
description |
|
clientId |
The Application (client) ID |
|
clientSecret |
The client secret of the above Service Principal |
|
tenantId |
The Directory (tenant) ID |
Go to App Registrations
Click on authentication
Enter your enterprise url into the web redirect URLs
i.e. https://ui.enterprise.zetaris.com/callback?uid=zetaris
Review that the urls provided were correct
Click on save