Prerequisites:
- Before running the dags, make sure to have Microsoft Teams and Slack connections set up in Airflow for notifications. Refer to the Version Control In Zetaris documentation for the setup steps.
- By default, the installation of Airflow includes predefined variables related to Airflow configuration and the Zetaris Environment.
- The table provided below contain either example values or parameter names, which should be replaced with appropriate and specific values.
- In this example, we are calling a data pipeline on Zetaris using a external python script and Zetaris API.
-
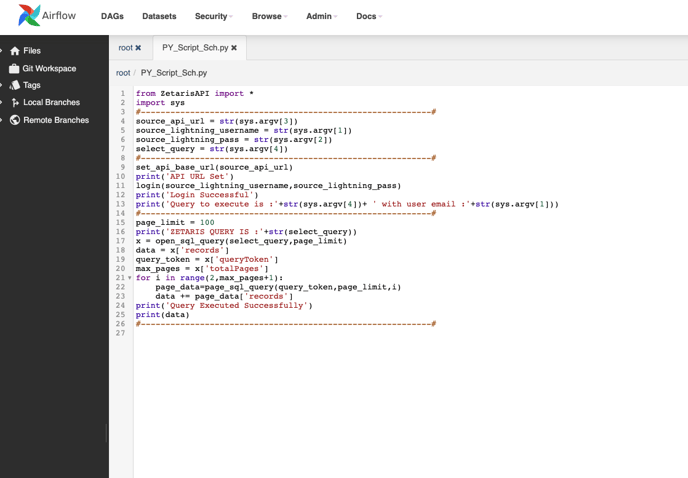
Create a Python script for the desired task (in our example, we have created a file named 'PY_Script_Sch.py' ).
-
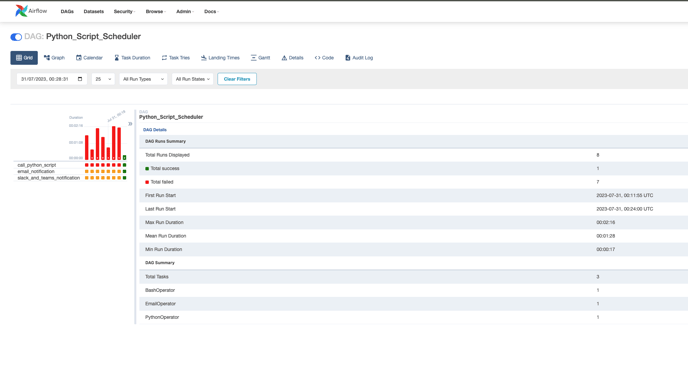
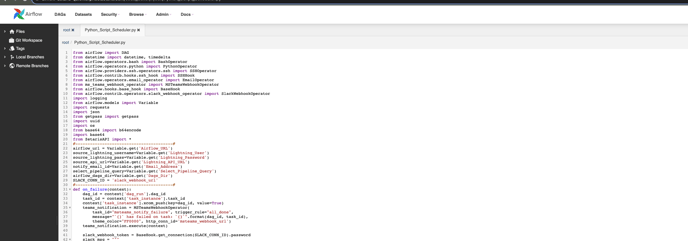
Develop a DAG Python file, to schedule the python script created in the above step (in this example, we have created a file named 'Python_Script_Scheduler.py).
- We need to create variables on the Airflow UI to provide parameters for the pipeline scheduling process process. Follow these steps:
- On the Airflow UI, navigate to the Admin section and select "Variables" from the dropdown list.
- Upload the Airflow Variables content as a JSON file by selecting "Choose File," and then import it by clicking "Import Variables" in Airflow.
Variable Name
Value Email_Address <email_address_for_notifications> Select_Pipeline_Query <select-query-pipeline> - Upload both files in the Airflow UI through Admin -> DAGS Code editor -> Create new file or upload (Both the files are uploaded in this example).
- After setting up the airflow and defining the necessary variables, you are all set to execute the 'Python_Script_Scheduler' dag.