- Login to the Zetaris platform
- Click on NDP fabric builder icon in the navigation located at the top left side of the screen

- Click
 next to Virtual File Sources to launch the connection dialog.


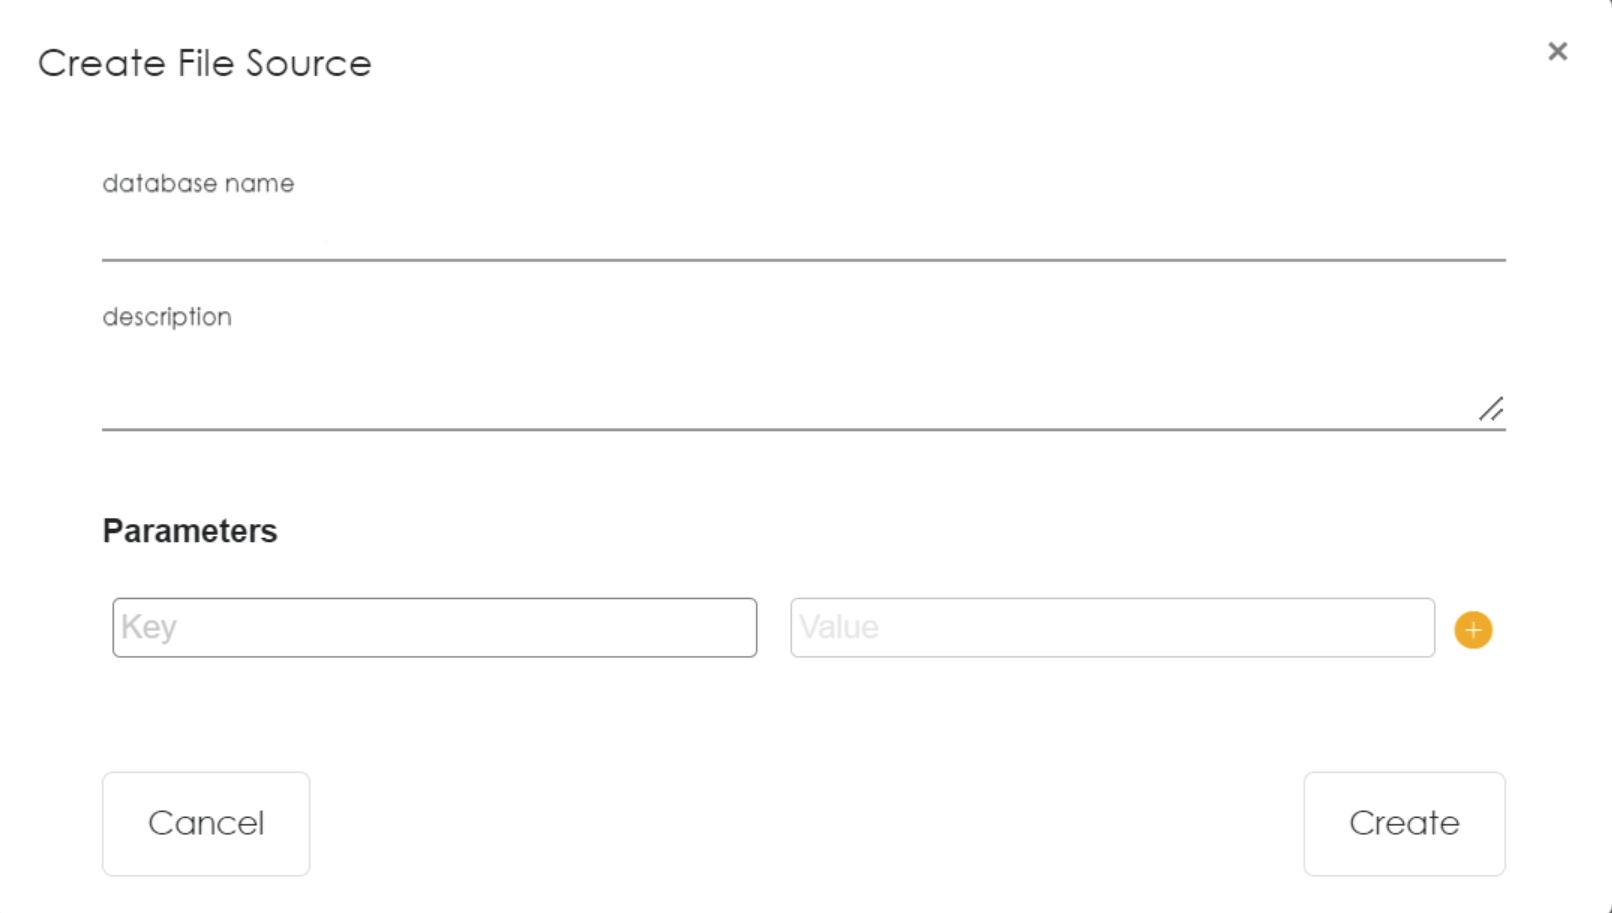
- A pop-up window will appear. Please specify the following values then select Create:
- Database Name
- Description
- Parameters
- Your new database virtual file source created in step 4 will appear under the virtual file source.

- Click next to the new database file source created in the previous step.
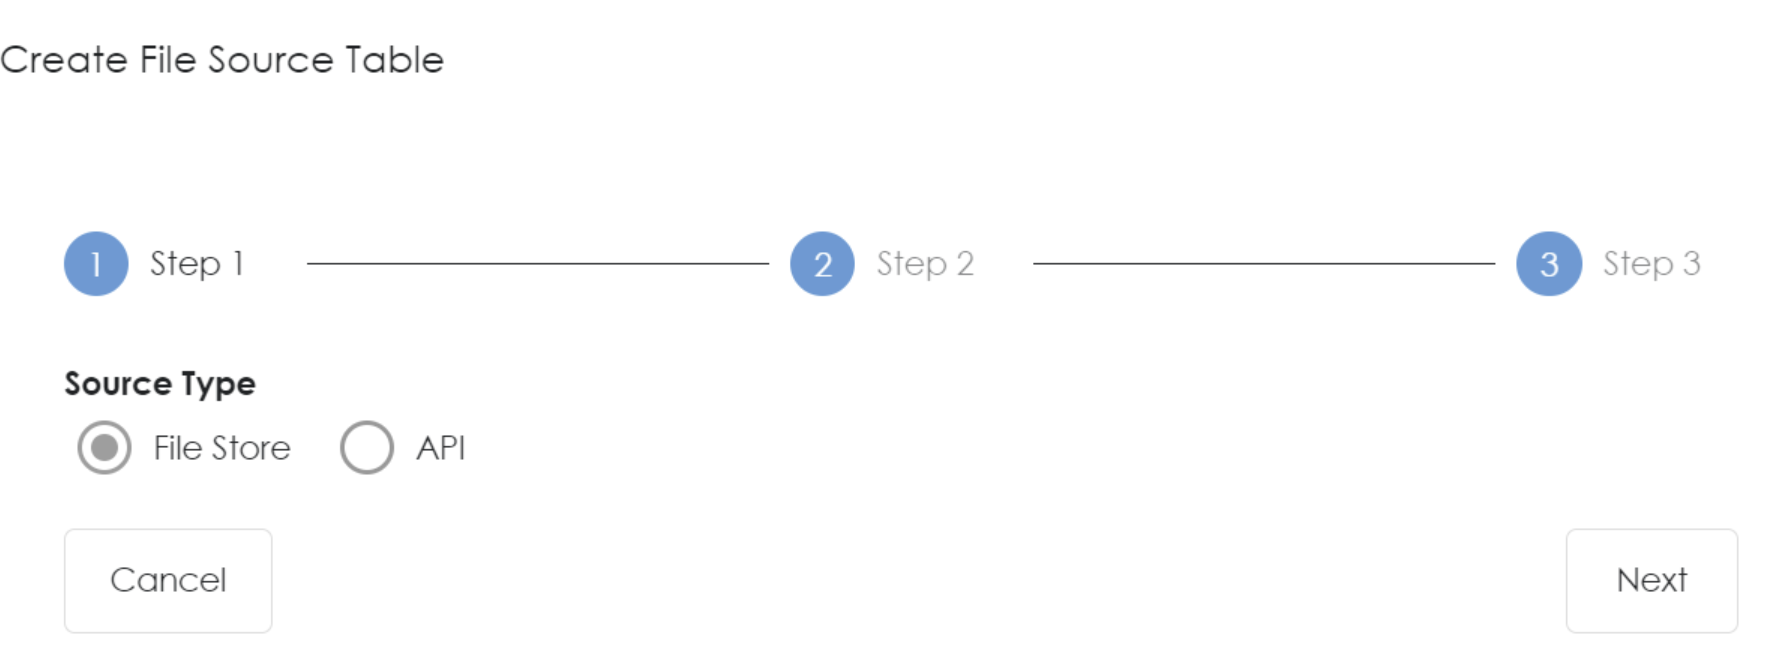
- A pop-up will appear. On Step 1, Choose File store option and then select next.

- Upon Step 2 Please provide the following connection details below:
- File source: Choose your File Source Type
- Storage: Choose Amazon S3
- Table name: Provide any name (without spaces - use underscore)
- File path: Provide your s3 path (eg. s3a://zetaris-lightning-test/csv-data/tpc-h/customer.csv)
- Access key: Provide your access key
- Security key: Provide your security key
- Delimiter: “,” ( the delimiter in CSV)
- Parameters
- header - true
- inferSchema - true (Optional)
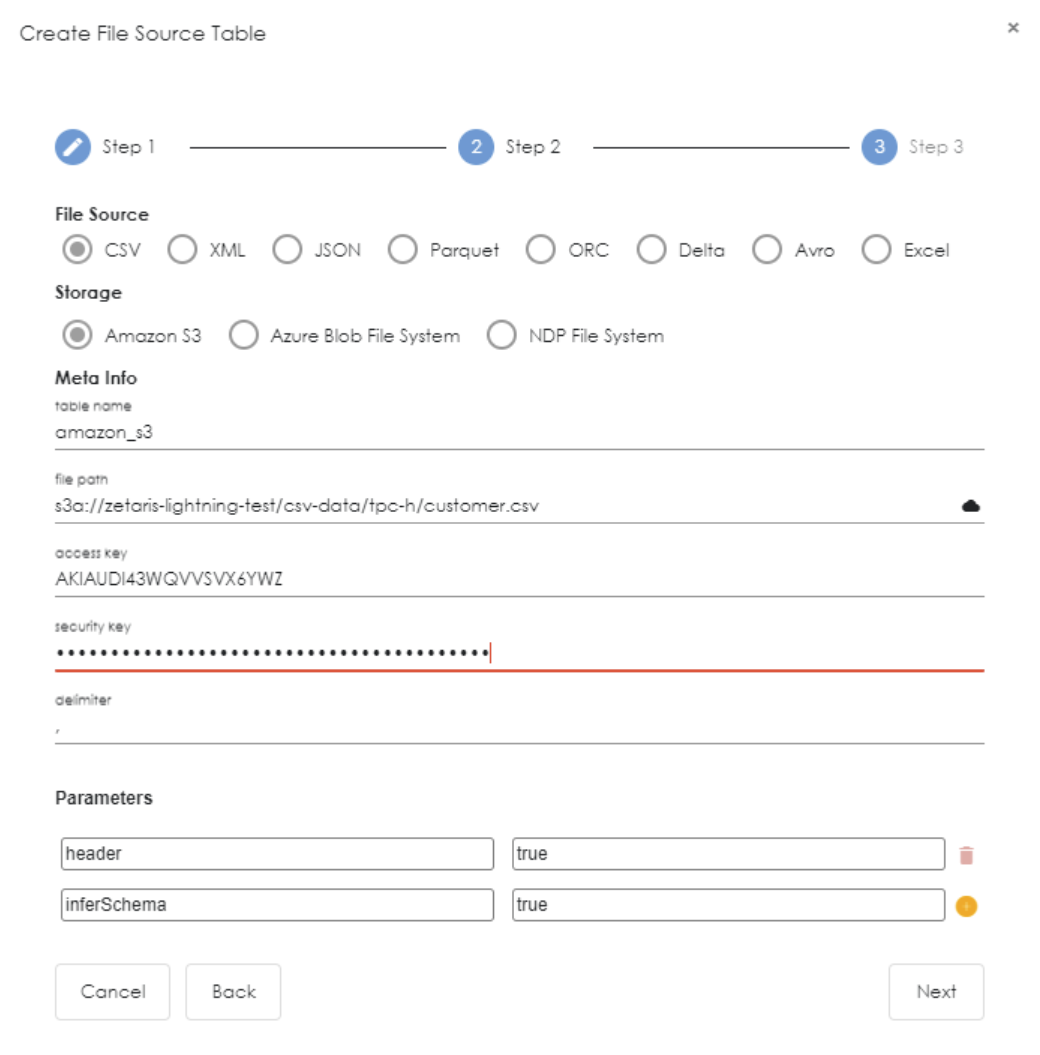
- Once all the details are filled click next to proceed.
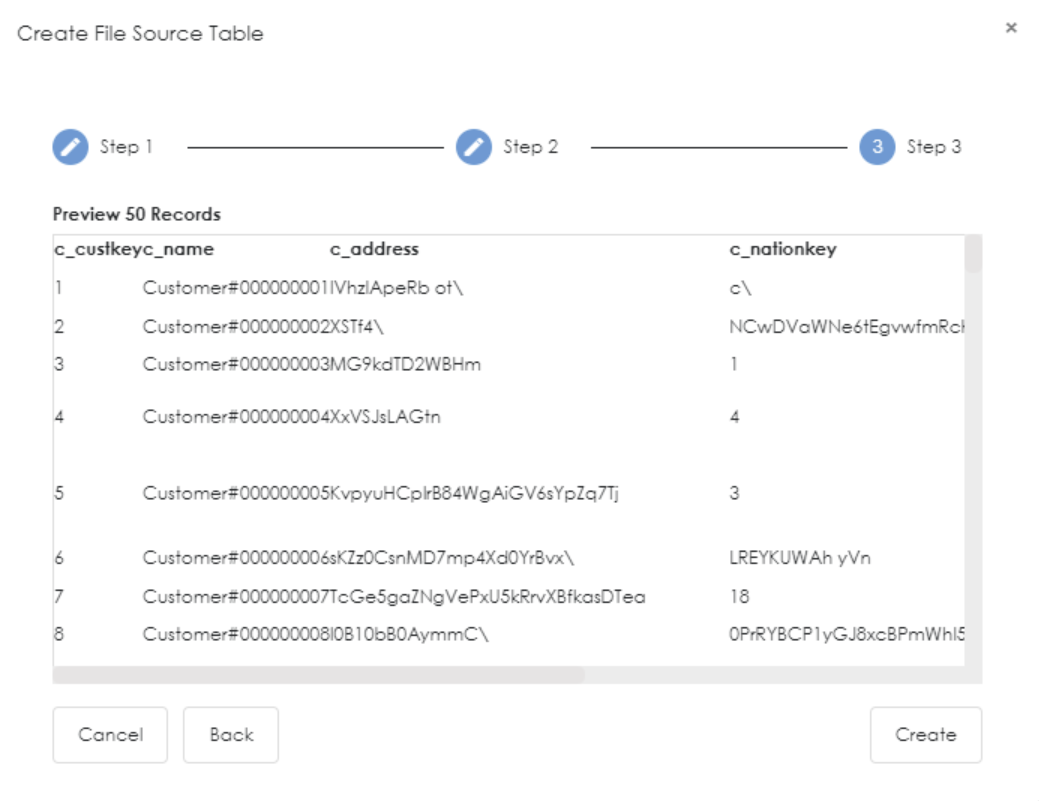
- Step 3 will provide a table preview of your data. Once satisfied, select Create.

- The newly created table will appear under your file source database.
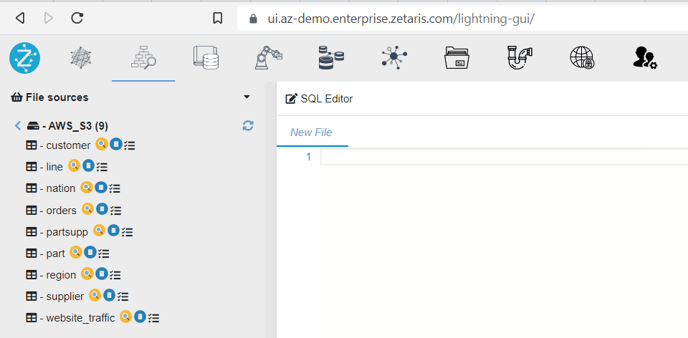
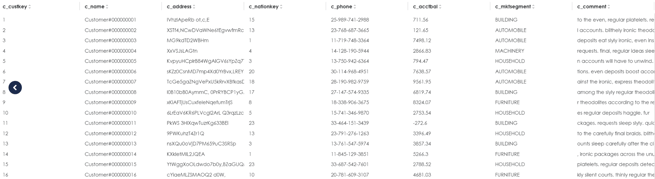
- To view the contents of your table click on the preview button

English