This guide provides a step-by-step walkthrough on how to connect to Google Looker and retrieve data from Zetaris using the Zetaris Community Connector. The Zetaris Community Connector is a robust tool that seamlessly integrates Zetaris, a data virtualization platform, with Google Looker, a powerful business intelligence and data visualization tool.
Pre-Requisites: Start a free Zetaris trial account
CLICK HERE to start your free trial and rapidly create a data model in the Zetaris Virtual data mart.
Step 1: Search and Access Zetaris Data
-
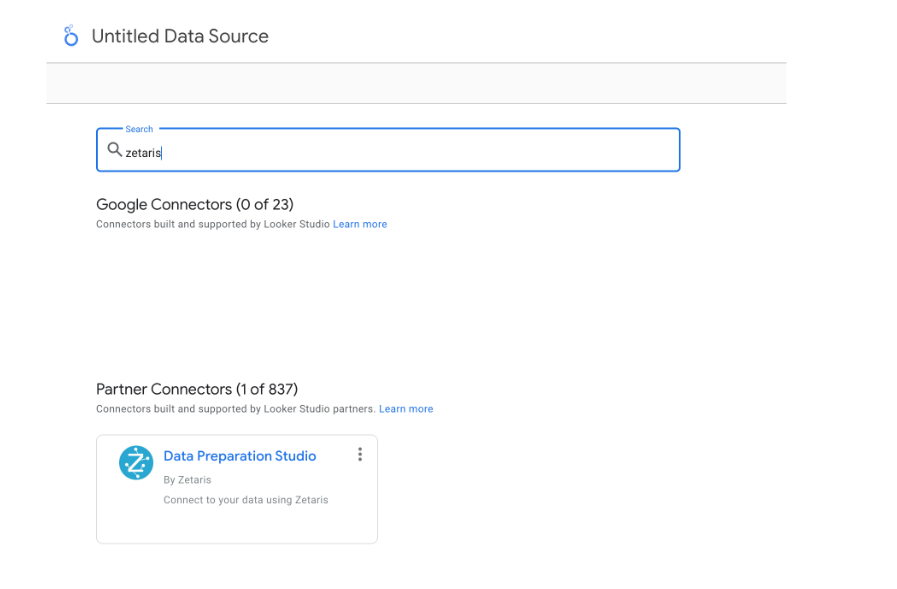
Go to the "Marketplace" tab in Google Looker.
-
Search for "Zetaris."
Step 2: Access Data Preparation Studio
-
Click on "Data Preparation Studio."
-
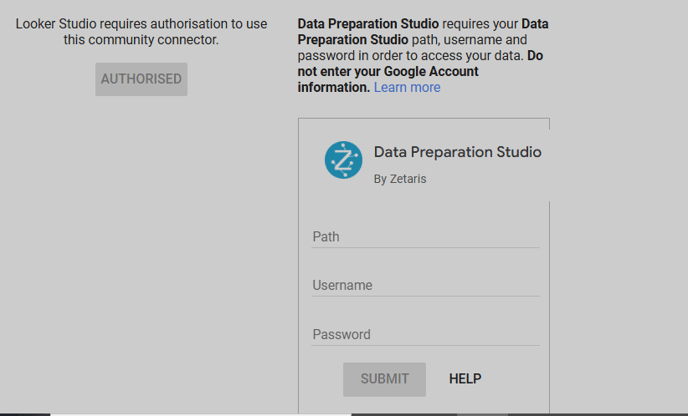
Authorize your Google Account.
-
Enter your Zetaris API URL in the "Path" field, Org ID as the "Username," and the Password that corresponds to your Zetaris environment.
Step 3: Choose Datamart and Table
-
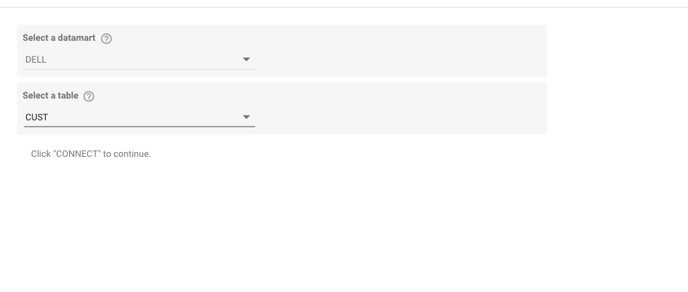
Once logged in, a dropdown list of available datamarts will be displayed.
-
Select a datamart from the list and click "Next."
-
The list of tables within the chosen datamart will appear.
-
Choose a table and click "Connect" located at the top right.
Step 4: Configure Data Schema
-
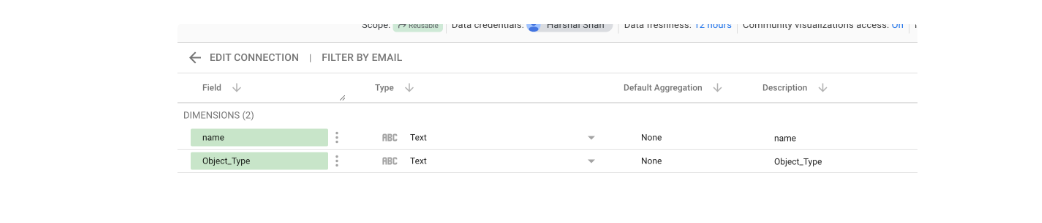
The schema for the selected table will be shown.
-
You can modify data types and object descriptions for the selected entity.
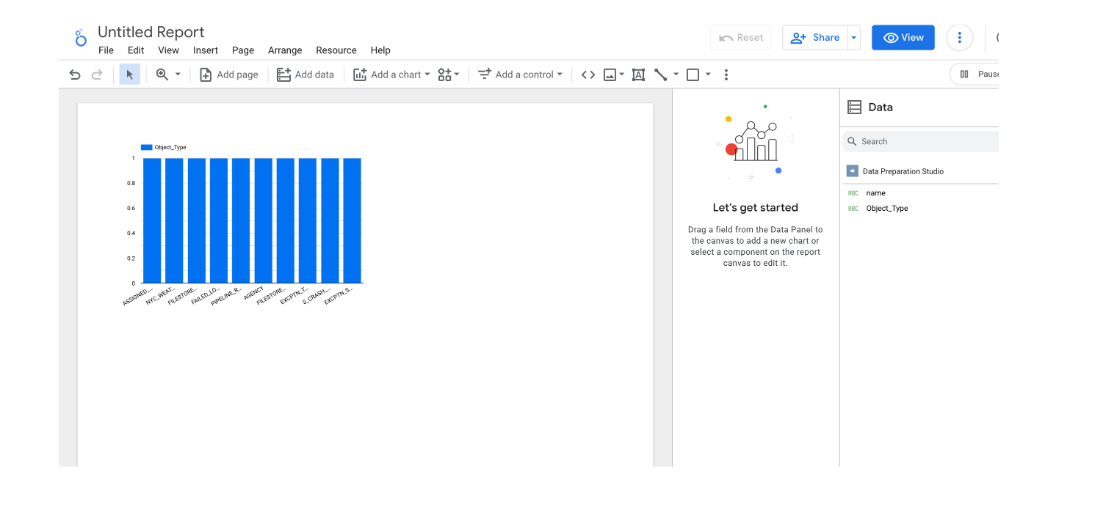
Step 5: Create and Visualize Report
-
Once schema configuration is complete, click "Create Report" at the top right.
-
A pop-up will appear; click "Add to Report" to fetch data for the chosen schema.
-
Begin visualizing the data.
Step 6: Adding Additional Tables (Optional)
-
Repeat Steps 3 to 5 for each additional table you want to include.