Azure Blob is an object storage service, used for storing data of many different types.
Through Zetaris, you are able to your data stored in Azure Blob container. These types of files we can connect are CSV, Excel, XML, JSON, Parquet, ORC, Delta and Avro.
How to connect to Azure Blob container
Using NDP Fabric Builder
Step 1: Login to the Zetaris Platform.
Step 2: Click on NDP Fabric Builder from the top widgets.
Step 3: Click on the plus button next to 'Virtual File Source'.
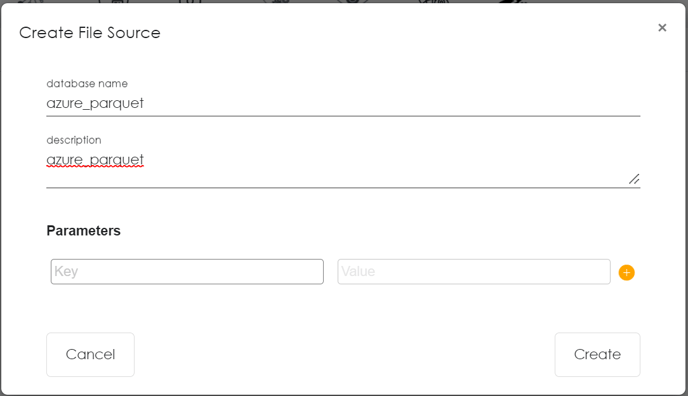
 Step 4: After clicking on plus button a pop-up will appear. Give any database name and description, then click on 'Create'.
 Step 5: The database created should now appear under the 'Virtual File Sources'. Click on the plus button next to the database created.

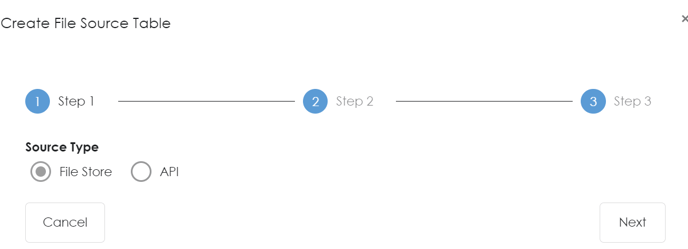
Step 6: Choose 'File Store' and click 'Next'.
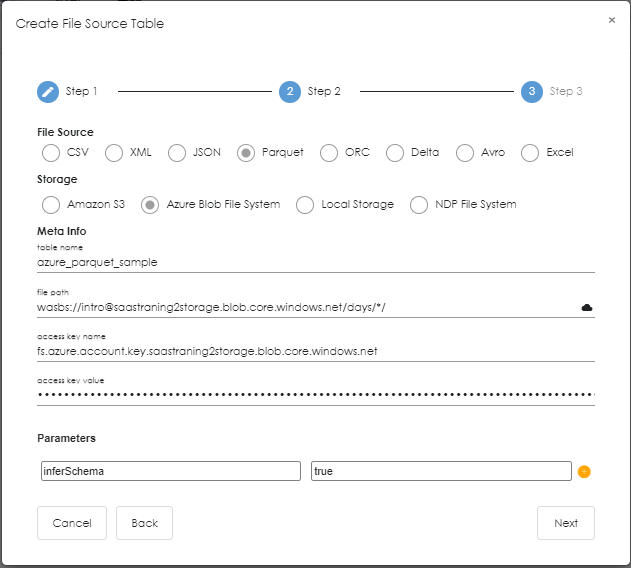
Step 7: Provide all the connection detail as shown below, then click 'Next'.
NOTE: depending on what 'File Source' you select, the Meta Info that you can input will slightly differ. Below is an example of connecting to a Parquet file, and its associated parameters.
| Meta Info | Value |
| File Source | Select desired file to connect to from CSV, Excel, XML, JSON, Parquet, ORC, Delta or Avro. |
| Storage | Select Azure Blob File System |
| table name | Any name without space |
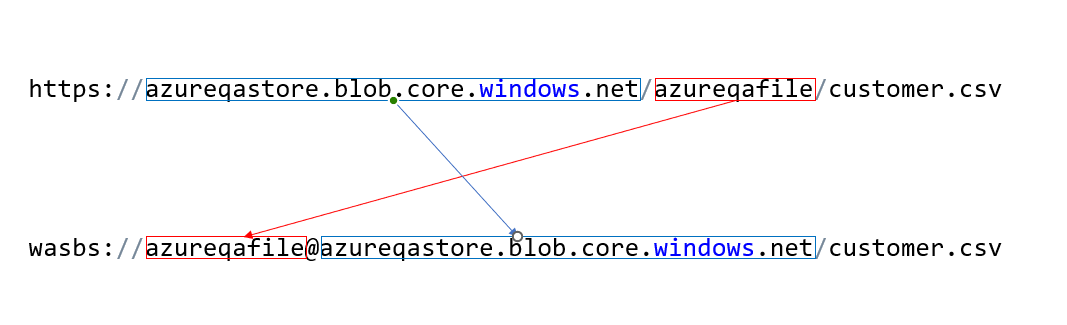
| file path |
Example: "wasbs://[your_container_name]@[your_azure_storage_name].blob.core.windows.net/[complete_path_to_file]/" To get file path:
|
|
access key name |
Example: fs.azure.account.key.[your_azure_storage_name].blob.core.windows.net |
| parameters |
inferSchema: true |
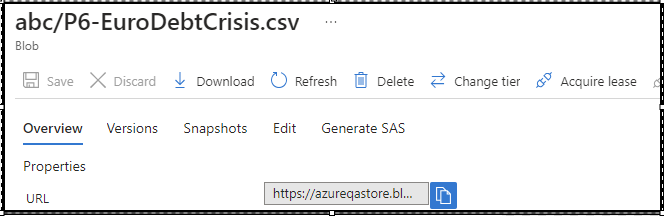
Discover tables in path: If you are unsure of which table to connect to, select the cloud icon next to 'file path', to discover and view all the select file types in that path.
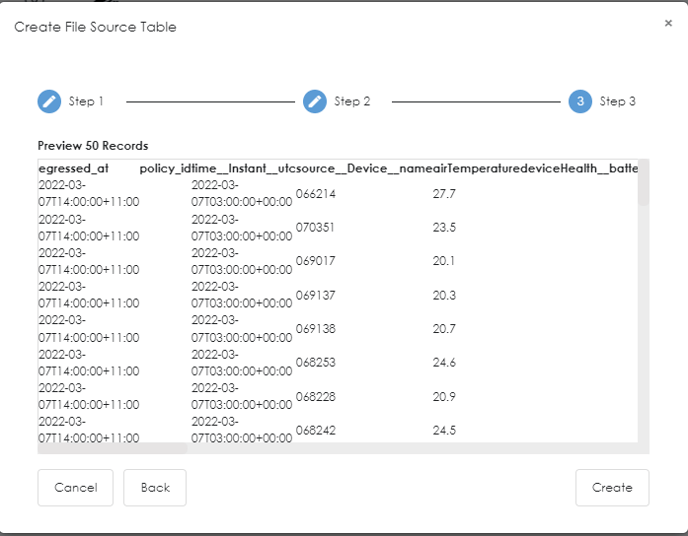
Step 8: You are provided with a preview of the selected table/s, select 'Create' to register.
Step 9: Table appears under 'Virtual File Sources'. The nesting should be: Virtual File Source → Database → Table.
Step 10: You can click on preview button to see your data.