Assumptions:
- Your application is already running in AWS Kubernetes
- The Primary AWS role has already been created and attached to service account.
Steps for connecting to Primary AWS GLUE:
-
Login to the Zetaris platform.
-
Select the NDP fabric Builder at the top of the screen.
-
Select the plus icon button next to “AWS Glue” section of the data source panel on the left side of the screen.

- You will now see the following window to create a new AWS Glue Source.
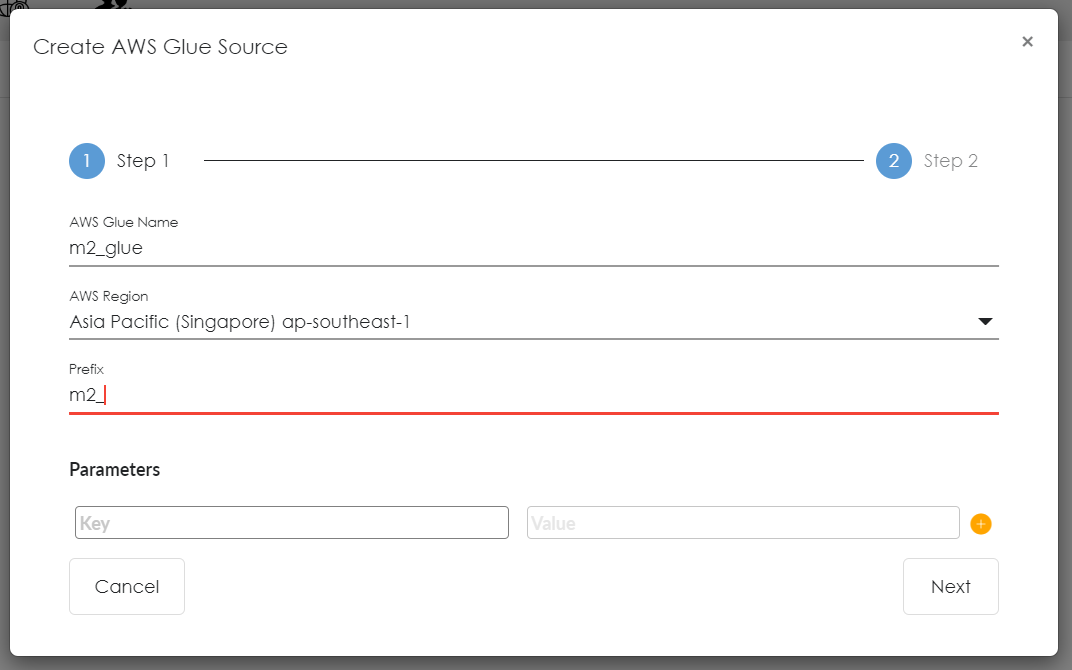
- AWS Glue Name: Any name can be given for primary Glue source.
- AWS Region: Choose the region where glue database is located.
- Prefix: Give any prefix.
- Parameters: Provide any required parameters for Glue source.
- Proceed by selecting Next
- Select all the databases you wish to be pulled from the glue metastore.
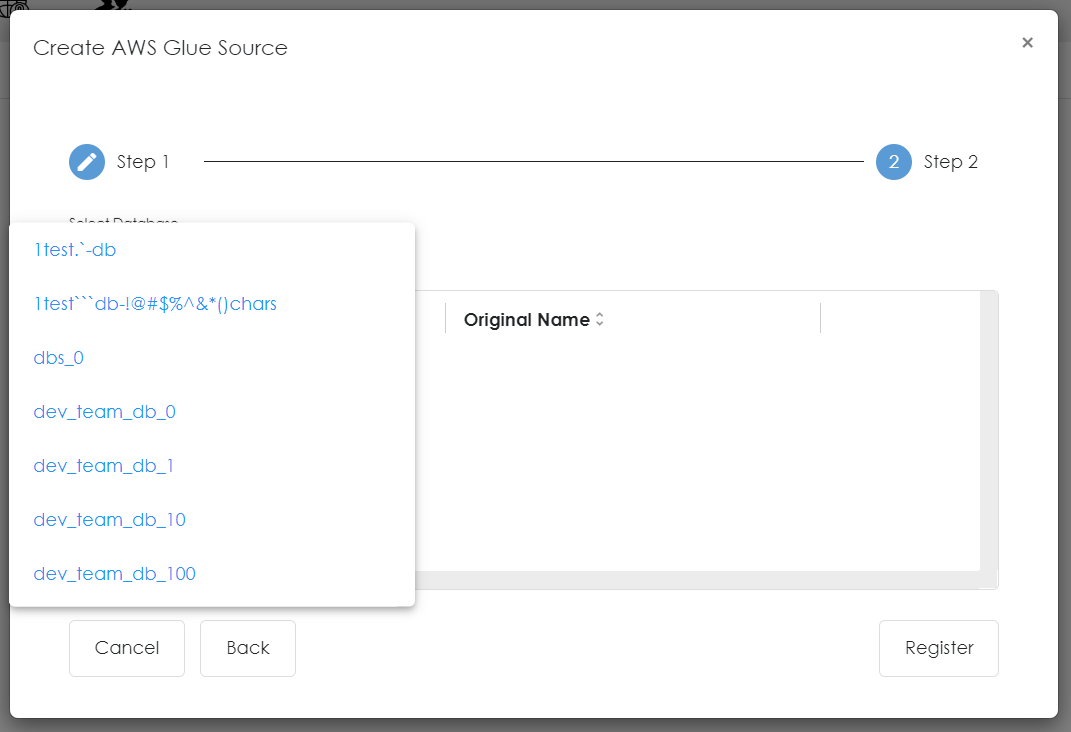
- Please wait for all the tables to be fetched, once completed please click the 'register' button.
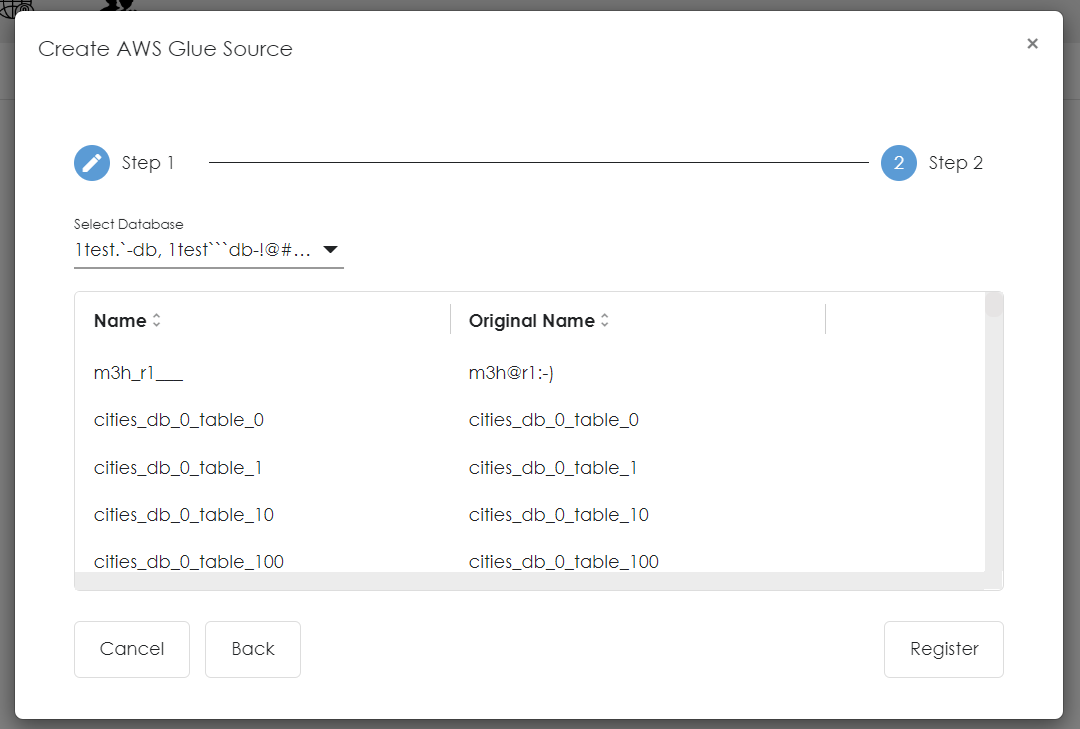
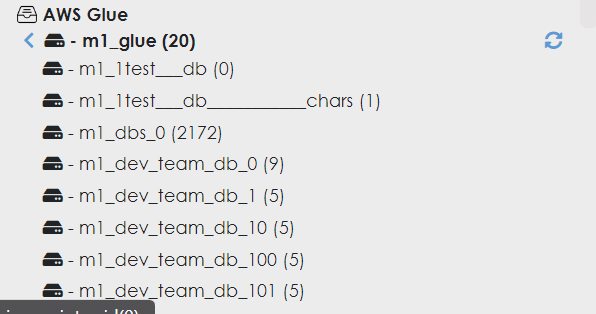
- You have now successfully registered a Primary Glue metastore

Steps for connecting to a secondary AWS GLUE(If you dont have a secondary glue below part is optional):
- Log into the AWS console
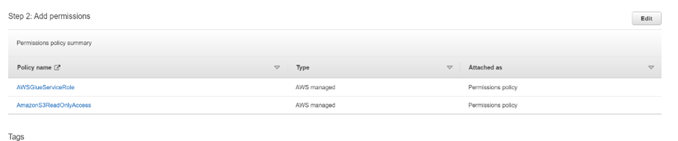
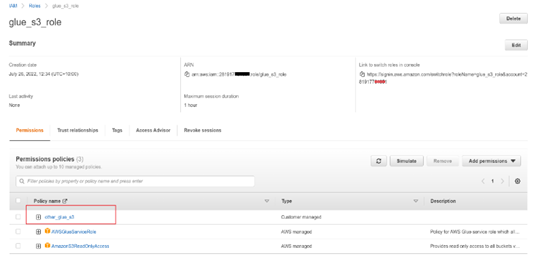
- Ensure that Primary AWS role contains the permissions policies below:
- AWSGlueServiceRole
- AmazonS3ReadOnlyAccess
- Open a new tab and log in to the AWS console and log in using the Secondary AWS account ID
- Open IAM dashboard>Roles
- Select ‘Create role’

- Select trusted entity type as: AWS account
- Select ‘Another AWS Account’ and input account id of the Primary AWS account
- Select next
- Give a role name and select the permissions policies below:
- AWSGlueServiceRole
- AmazonS3ReadOnlyAccess
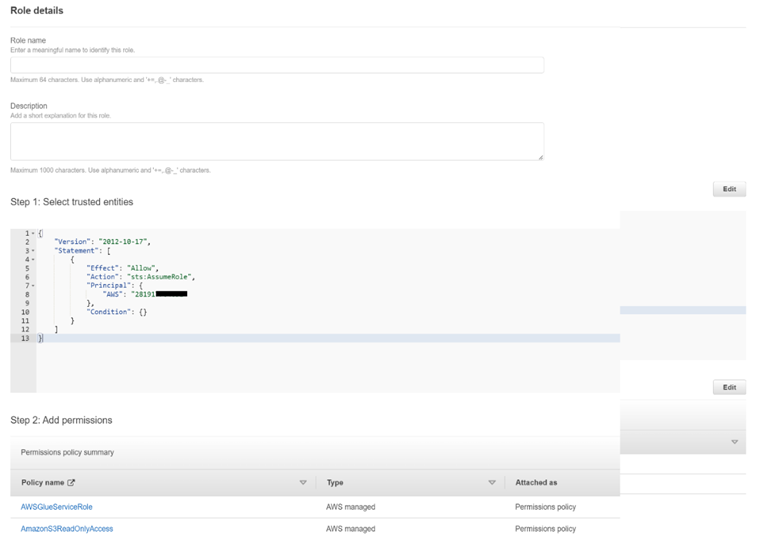
- Then click create role.
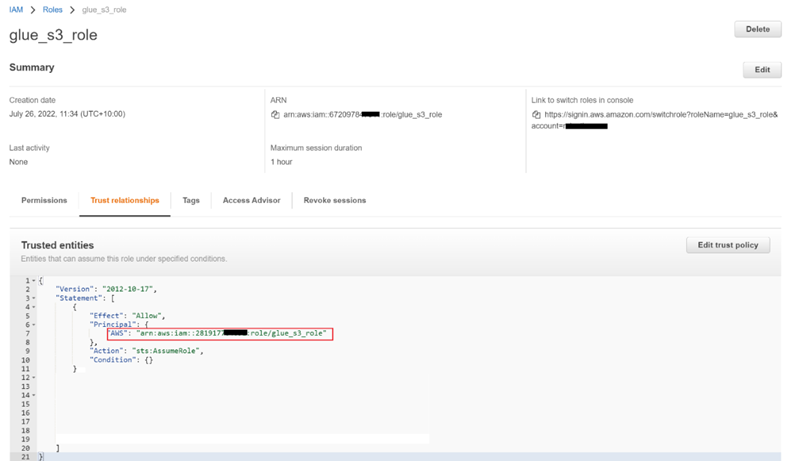
- Once role is created open the role and select the trust relationships tab
- Click on edit trust policy
- The section should become editable and update the ARN of the role copied from the primary AWS account to the trust relation of this secondary account role and save. As shown below:
- On the Primary AWS account, go to IAM dashboard>Polices then create policy

- Select the Visual editor tab
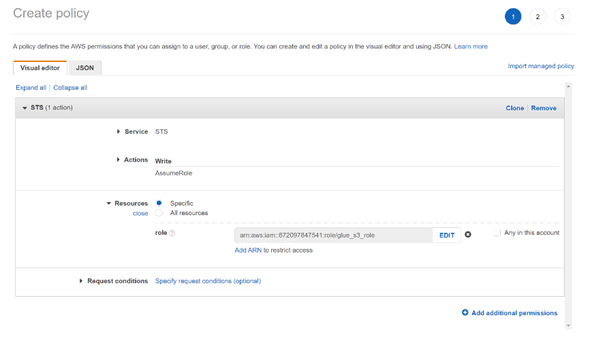
- Service: STS
- Actions: Write>Assume Role
- Resources: Add ARN of role from secondary AWS account
- Give the policy a name, then create Policy
- On the primary AWS account add the newly created policy created in the previous step
- Open the VM where EFS is mounted.
- Go to path mount/server
- Edit file aws_glue_conf.properties. if the file is not there create one with same name.
- Add the secondary account role ARN or Catalog ID.
- Adding ARN:
- <secondary_glue_name.arn>=arn:aws:iam::<your aws id>:role/<your glue s3 role>
- For example : abc_account.arn=arn:aws:iam::6720978xxxxxx:role/glue_s3_role
- Adding Catalog ID
- <secondary_glue_name.catalogid>=<your catalogid>
- For example : abc_account.catalogid=6720978xxxxxx
- Adding ARN:
- Save the file and exit
- Now follow the same step used in "Steps for connecting to Primary AWS Glue" used to connect to secondary glue. Only important point to note here is same name has to be given for secondary glue in aws_glue_conf.properties.